Braiding hair is an ancient artform that holds deep cultural significance, especially among Black and Afro-Latino communities. For centuries, intricate braided hairstyles have allowed us to express our heritage, identity, and beauty. As a hair braider based in the richly diverse city of Miami, I’ve witnessed firsthand the pride my clients feel when embracing braids.
After years of honing my techniques, I’m thrilled to distill my knowledge into this comprehensive beginner’s guide to braiding. My goal is to empower Black and Afro-Latino women aged 18-55 to unleash their inner braiding goddesses. By breaking down braiding into simple, digestible steps, you’ll gain the skills and confidence to let your unique beauty shine.
So grab a comb, moisturizer, and hair ties – we’re about to slay!
Understanding Your Hair Type

Before grabbing the braiding hair and getting tangled up, it’s essential to understand your hair’s unique texture. Our kinky, coily, curly crowns come in all shapes and sizes. Taking the time to identify your hair type will determine the right products and techniques to keep your braids looking fly.
When I was learning to braid on my sister Keisha’s hair, her tight curls required gentle handling compared to our cousin Lola’s loose waves. Their different density and elasticity meant adjusting my tension, tools and prep for flawless outcomes.
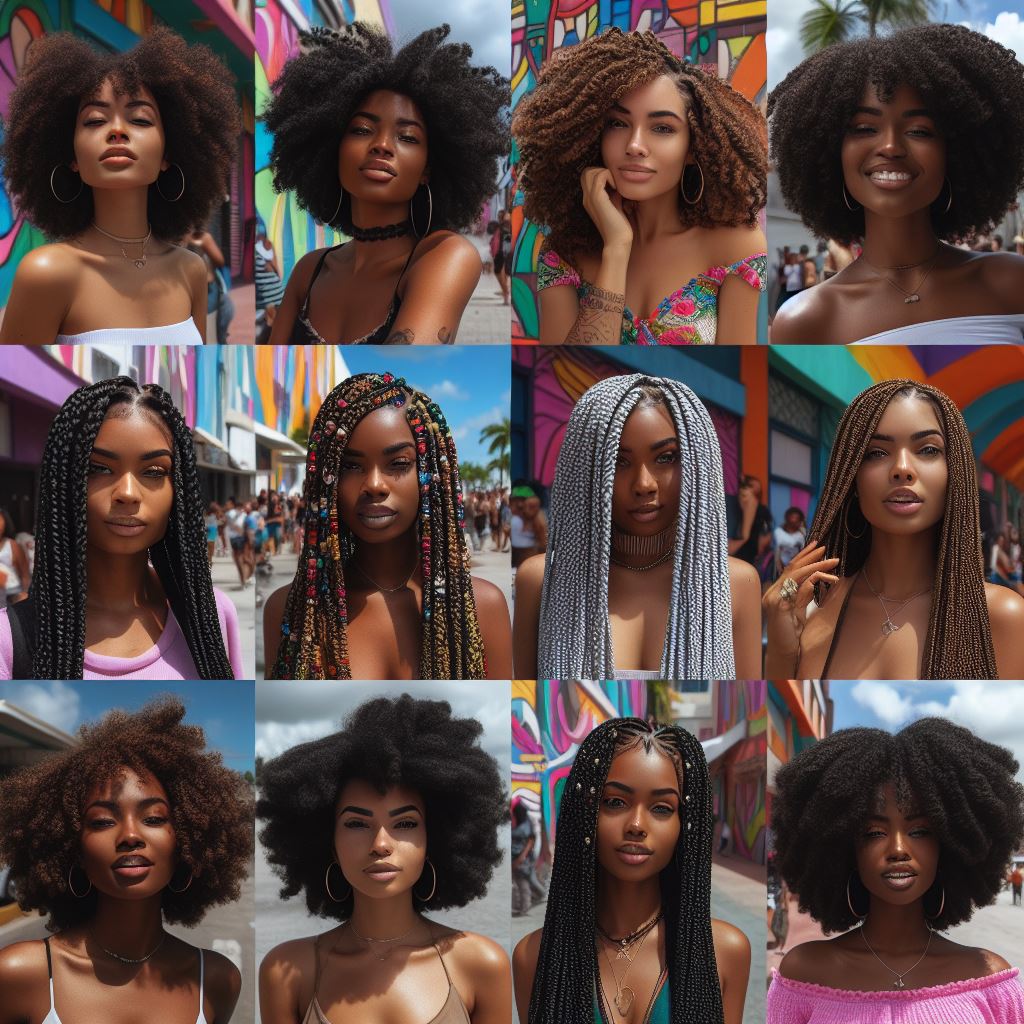
Here’s a simple breakdown of common Black and Afro-Latino hair types:
Type 3 – Curly
Defined, bouncy curls and waves with more flexibility. Often shines with the right products.
My go-to for inherit moisture and sheen!
Type 4 – Coily
Extremely curly and kinky with more fragility. Requires extra moisture to prevent dryness.
Perfect for chunky braid styles if cared for properly!
Type 5 – Zigzag
“Z” pattern texture that benefits from regular protein treatments and protective styling. More prone to breakage if mishandled.
Great for braids BUT handle like liquid gold!
Visit my salon for a custom consultation so I can assess your hair in person before braiding. Knowing exactly what you’re working with is step one for braiding success!
Basic Braiding Tools and Products

Now that you know your hair’s type, let’s cover the basic tools and products that elevate every braid game. While fancy gadgets are cool, starting simple allows you to perfect fundamentals.
Essential Braiding Tools
Quality combs and brushes. Look for seamless, rounded-tip combs to glide through hair smoothly. Similarly, boar and nylon bristle brushes prevent ripping.
Clips, bands and ties. Section hair cleanly by size for uniform braids. Goody’s Ouchless bands are ultra gentle on edges.
Edge control and styling gel. Lay down flyaways and style braid ends neatly. I swear by Ampro Olive Oil gel for lasting hold without flaking!
Pins and needles. Secure braid extensions Hassle-free with U-pins. Stitch braids meticulously using a traditional cannula needle.
Moisturizing spray bottle. Hydrate hair evenly when braiding with water-based concoctions I’ll share later!
Braiding Product Essentials
Now for nourishing staples that transform hair from dry to dazzling:
Natural oils. Pre-treatment with vitamin rich coconut, olive and almond oils boosts shine. A little goes a long way!
Daily moisturizers. Hydrate continuously with water-based creams like Carol’s Daughter Black Vanilla. Prevent itching and dandruff effectively.
Leave-in conditioners. Post-shower, distribute a quarter-size amount evenly from root to tip before braiding. Keeps hair supple for LONGER!
Hair grease. Seal in moisture to ends with classic Dax Pomade. Locks flyaways in place too!
Braiding hair. Synthetic Kanekalon fibers are affordable, durable braiding extensions. Opt for raw Cambodian hair for convincing texture.
Pro tip: Pick formulas without sulfates, parabens, mineral oil or fragrances that often irritate the scalp. Using clean, vegan products is especially important for leaving braids in 6-8 weeks at a time!
Next, let’s prep hair to receive these luscious products!
Preparing Your Hair for Braiding
Ever seen someone unbraid hair matted with shed strands and flaky crust? NO bueno! Proper prep is the difference between braids that have you yas kween-ing vs. begging to detox your scalp ASAP.
Here’s my easy 3-step pre-braiding routine for immaculate results:
1. Shampoo and condition
Start with freshly clarified hair, massaging Moroccanoil Hydrating Shampoo followed by their Moisture Repair Conditioner into scalp for 5 minutes before rinsing completely. This removes buildup so moisture can penetrate freely after.
2. Deep condition and detangle
Once a week, distribute Shea Moisture Manuka Honey Masque from roots to ends, pop on a plastic cap and let sit 30+ minutes for deep conditioning. Then detangle small sections at a time with a wide-tooth comb, working in small downward sections to avoid ripping.
Rinse out masque COMPLETELY – residual oil makes braiding slippery.
3. Blowdry and style
Let hair air dry slightly before gently blowdrying in sections on low heat. Use a paddle brush to smooth strands minimizing frizz before braiding.
Finish with moisturizer and serum to boost shine, then secure in chunky twists with Goody Ouchless bands. This stretches hair making braiding lie flatter later.
Let’s get to the fun part – actually braiding!
Basic Braiding Techniques
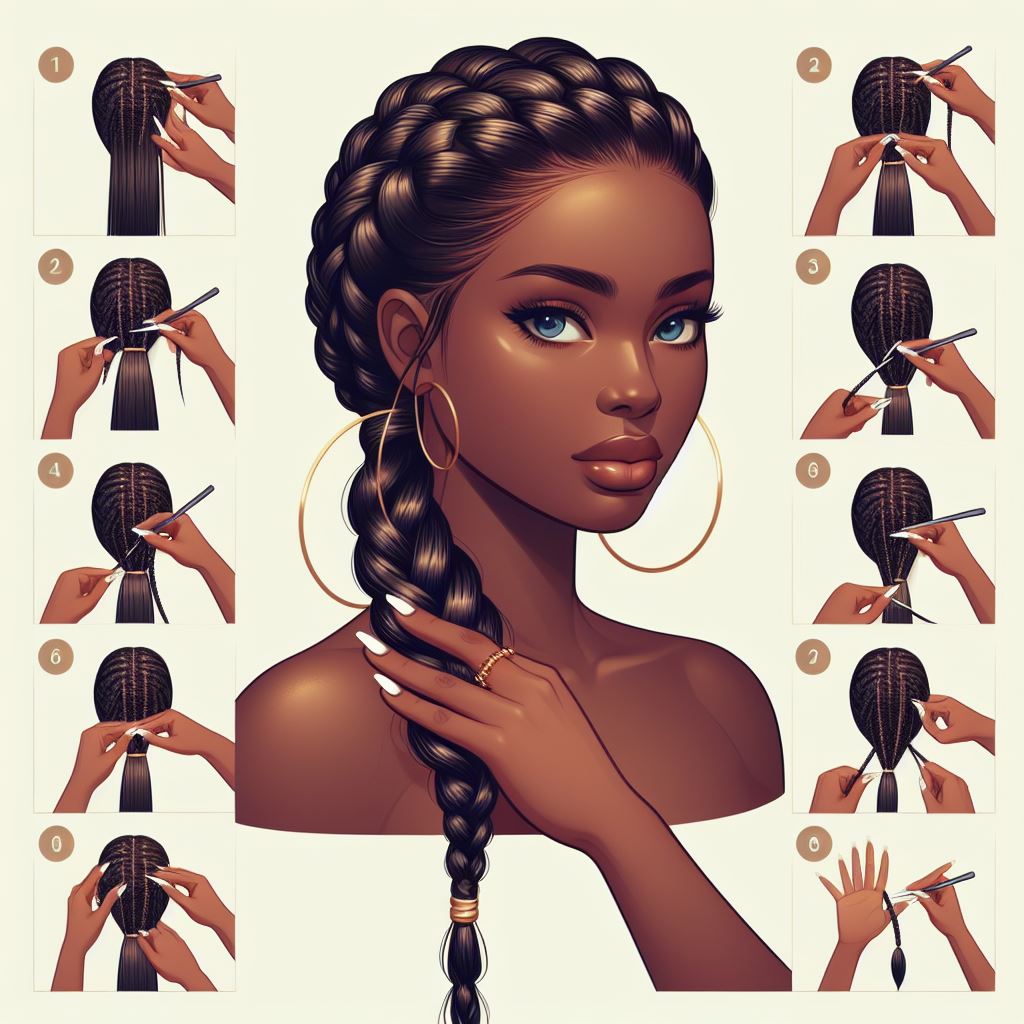
Conquering a flawless three-strand braid is the core foundation for every style. Practice makes permanence, so don’t rush it!
Follow these steps to weave basic braids gently without slacking tension:
1. Section clean hair
Work in quadrants, securing the rest away neatly. For beginners, part hair into a clean side part then isolate a “tract” of hair 1-2 inches wide from forehead to nape sequentially.
2. Split section into three
Separate hair evenly into three strands:
- Strand A (far left)
- Strand B (middle)
- Strand C (far right)
Hold taut with less than an inch of slack to prevent bumps.
3. Cross strands methodically
Cross strands in this sequence:
- A over B
- C over A
- B over C
Remember “ABC” and repeat down the full length of hair.
4. Check tension frequently
Ensure braids remain snug, but not painfully tight by glancing in the mirror and adjusting accordingly. Secure ends with tie or bands.
Repeat the “ABC” sequence down clean rows until hair is completely braided. Make sure parts stay straight and centralized – crooked sections scream amateur!
Pro tip: For added bling, add gold cuffs or beads between passes of the strand.
Once these basic steps click, let’s step up your game!
Advanced Braiding Techniques
You made it, rookie! Now that you’ve got your Ph.D in Braiding 101, let’s move into specialized styles to take your look next level.
Building off your stellar three-strand technique, incorporating volume, extensions and intricate patterns is a breeze.
Here’s a preview of what’s possible:
Amp Up Volume
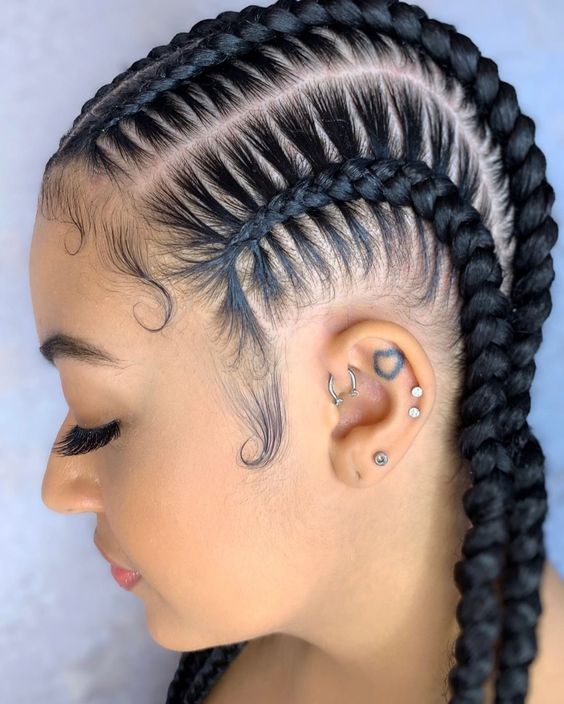
Cornrows. Part hair cleanly from front to nape in straight lines. Complete three-strand braids tightly to the scalp along parts toward temple on both sides. Looks edgy slicked back or decorated.
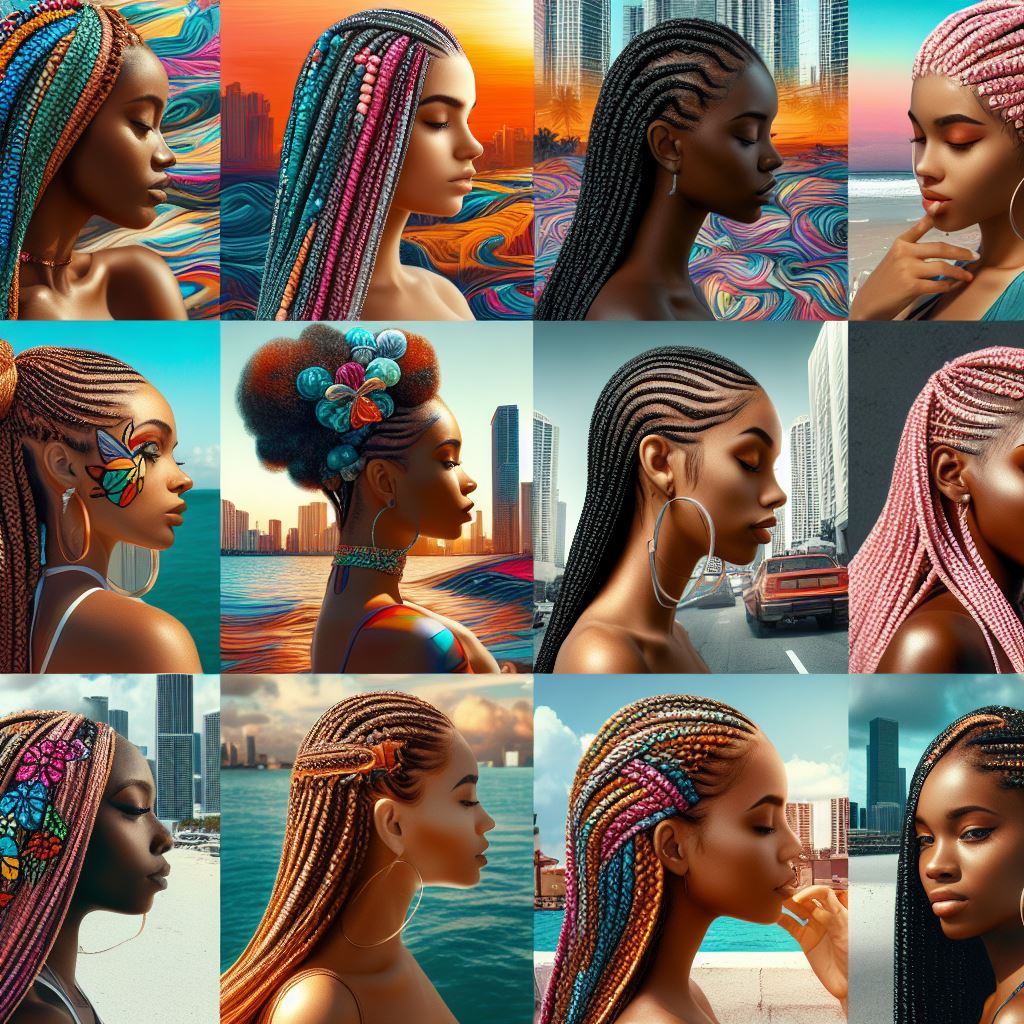
Box Braids. Section very small squares instead of long rows to create chunky braids that pop off boldly. Use extensions in vibrant hues for maximum impact!
Try New Patterns
French Braids. Start with three strands at the crown, then gradually catch and pull in loose hair while braiding downward. Creates delicate plaits that wow.
Fishtail Braids. Separate two thick sections, then gently pull thin strands from the outer edge of each to cross alternately into the opposing section. Modern and sleek!
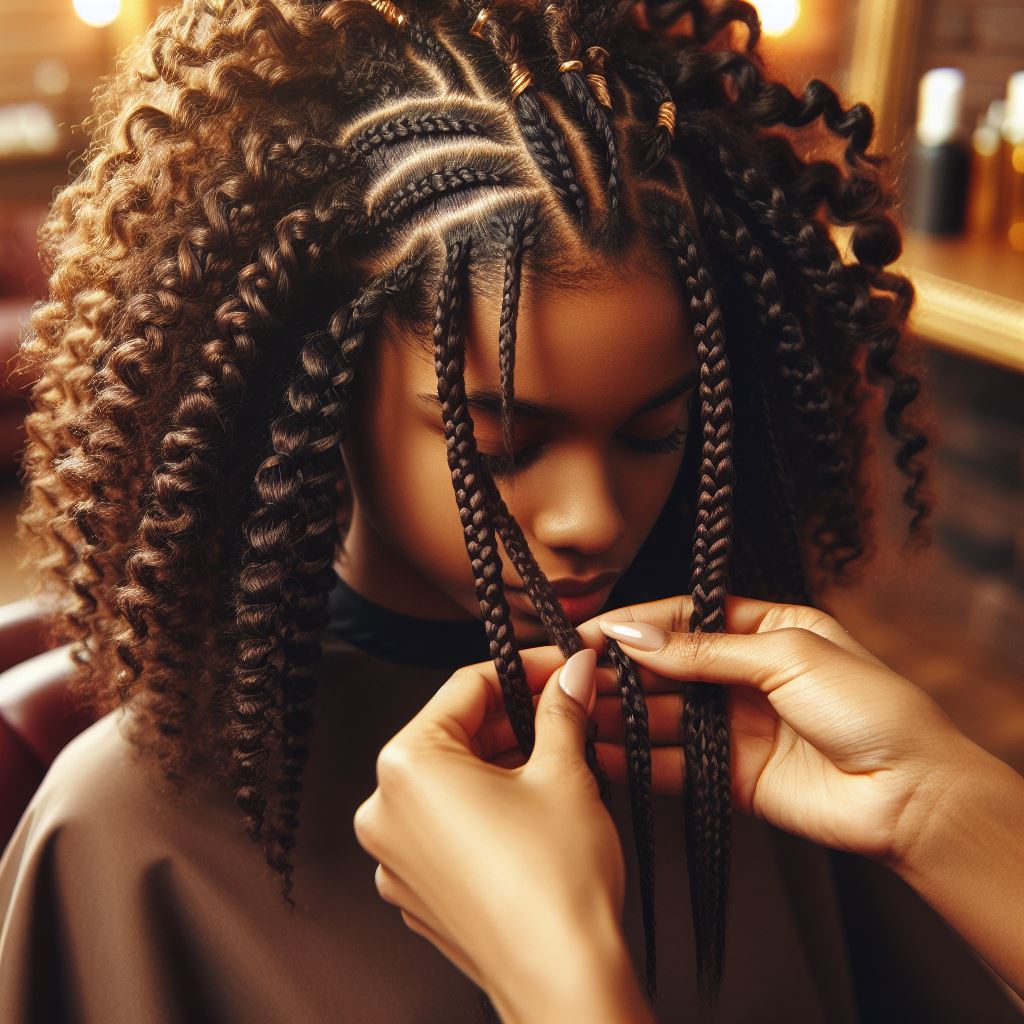
Mix In Extensions
Feed-Ins. Use a latch-hook needle to sew braiding hair securely alongside your natural strands for seamless length and fullness. Anchor tightly and handle gently!
Individual Strands. Add pre-separated synthetic hair pieces into braids by incorporating as a fourth strand in normal sequence. Ideal for vivid color without commitment!
Let your personality shine through by customizing pattern size, parting, color and accessories until the style expresses your unique fabulousness!
But just how do you keep braids fresher longer between takedowns? Read on!
Styling and Accessorizing Your Braids
Beyond installation, the way you flaunt your braid-game requires attention too for captivating looks that last over time.
Day-To-Day Care
Low manipulation. Resist over-touching braids which causes frizz over time.
Bonnet or scarf at bedtime. Protect edges against friction on pillows preventing sheer.
Silk pillowcases. Further shield braids overnight reducing tangled knots, especially with straight-back styles.
Moisturize lightly daily. Refresh mid-lengths down avoiding direct roots that can get slippery and undo braids.
Dressing Up Your ‘Do
Define parts. Use edge control gel to slick sections and edges neatly. Hot tip: Apply to toothbrush for precise lines!
Spritz lightly. Hydrate braids then blast with cool air from your blowdryer, diffuser or small fan to lock in moisture and minimize frizz.
Embellish creatively. Incorporate chunky beads, shells, rings or cuffs spaced evenly for an added oomph.
Wrap elegantly. Finish off goddess braids with satin scarves or pearl necklaces draped gracefully around neck and shoulders.
Have fun playing with accessories until you have a signature look that dazzles!
Common Braiding Mistakes and How to Avoid Them
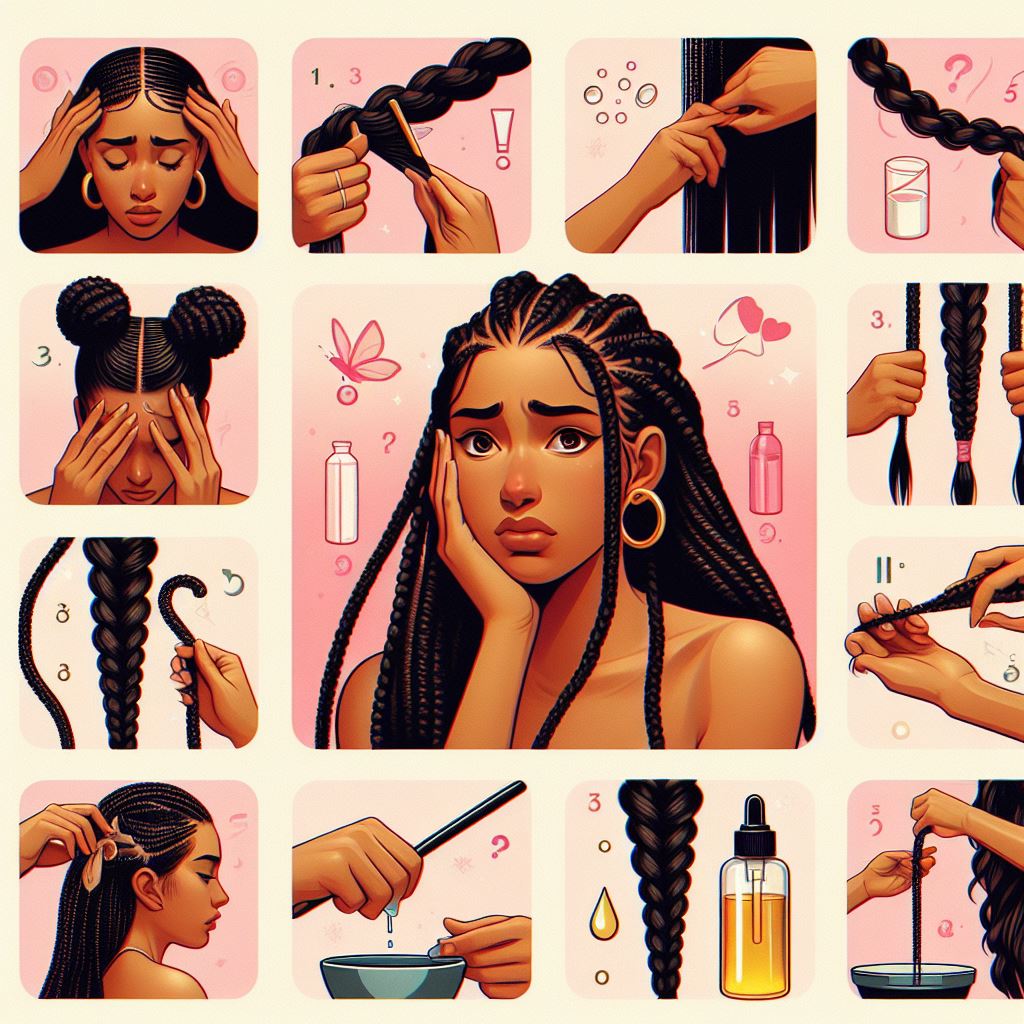
Like any artform, braiding has a learning curve. But falling short with style is MUCH more forgiving than causing harm that jeopardizes healthy hair overall.
By knowing what NOT to do, your strands will remain intact no matter how many times you re-install.
Here are my top troubleshooting tips:
Issue: Braids too tight
Fix: Check tension, loosening any plaits causing scalp discomfort. DO NOT reach until hairline bleeding!
Issue: Ends dry out fast
Fix: Seal braid tips with argan oil to restore moisture and silkiness.
Issue: Itchy, irritated scalp
Fix: Keep braids looser at the root, cleanse scalp regularly with witch hazel wipes and clarify more often.
Issue: Bumpy, loose braids
Fix: Maintain tautness down full length of hair, even when arms get sore!
Issue: Hair loss around edges
Fix: ALWAYS handle perimeter gently and default to lower tension around face. Reinforce thinning spots by massaging growth serum into roots.
Place patience over perfection – hair will always grow back. But negligence can impact how it returns due to damage. Handle your lovely locks with care!
Embracing and Celebrating Your Braids
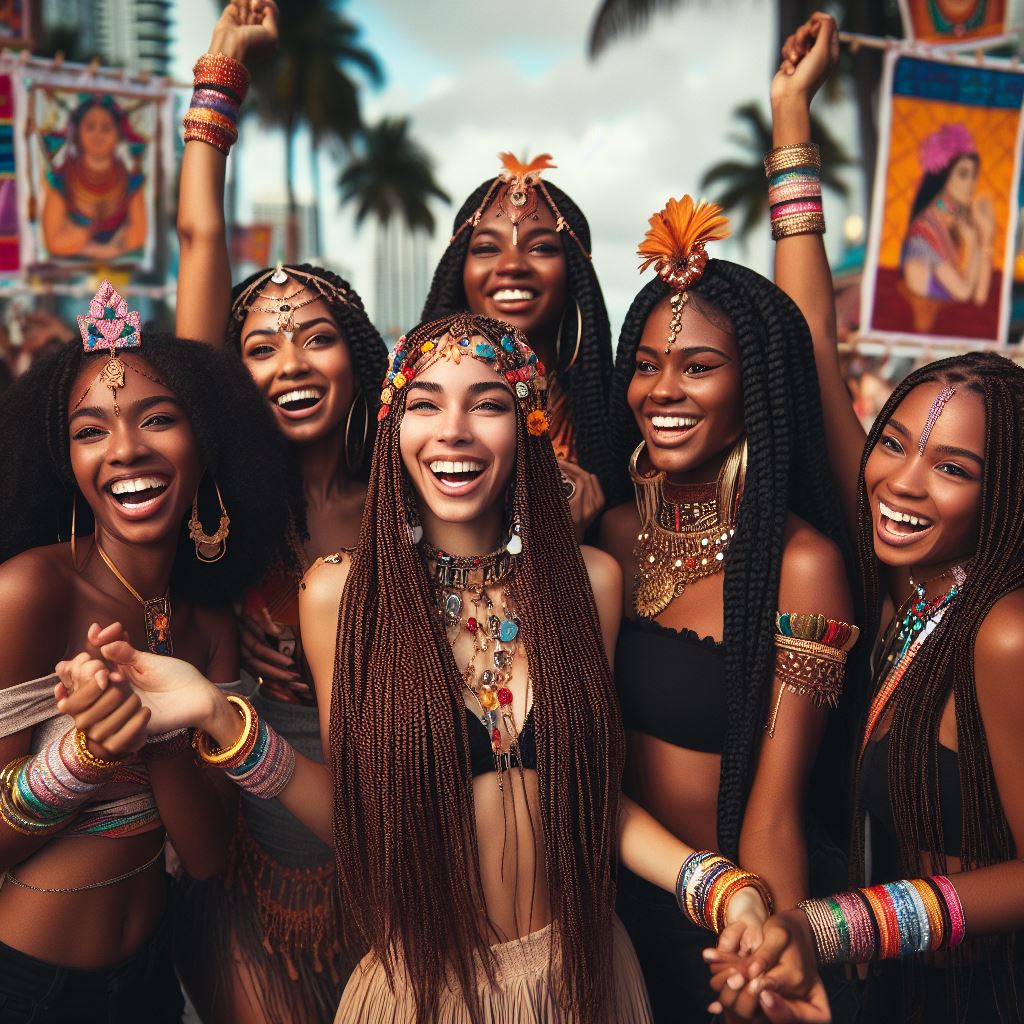
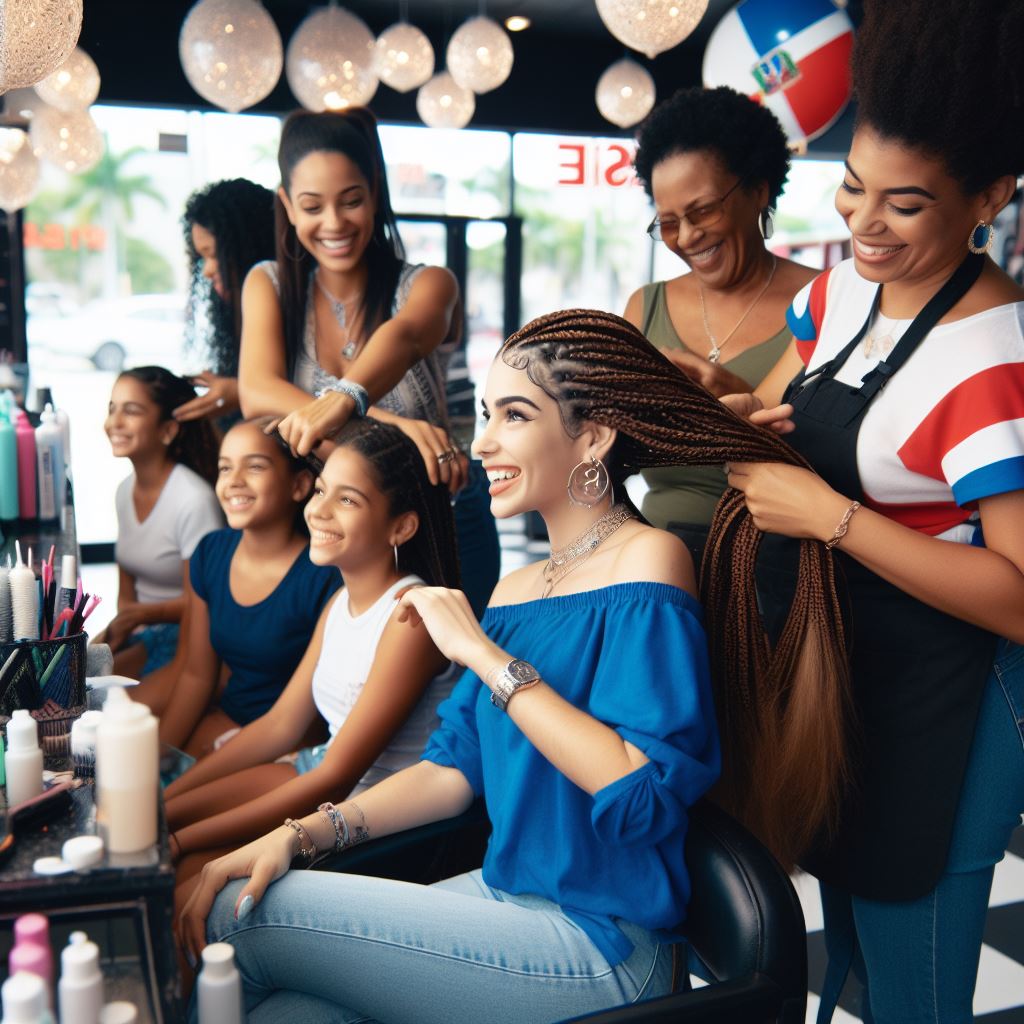
For many in our community braids symbolize connection. The intimacy created when a stylist parts through sections softly; when friends gather to “ooh and ahh” freshly done hair in salons for hours – our beauty rituals bond.
My client Aaliyah shares:
“I treasure my Sunday self-care sessions getting braids redone as a chance to chat for hours with my best girls. We laugh through tangled ends but leave with sore abs and lighter spirits!”
While Vanessa says:
“I proudly rock waist-length braids as an inheritance of traditions past down generations in my family originating from Panama. They connect me to my ancestors in a way nothing else does!”
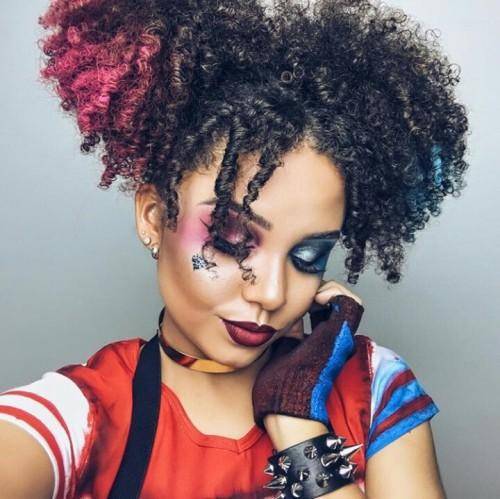
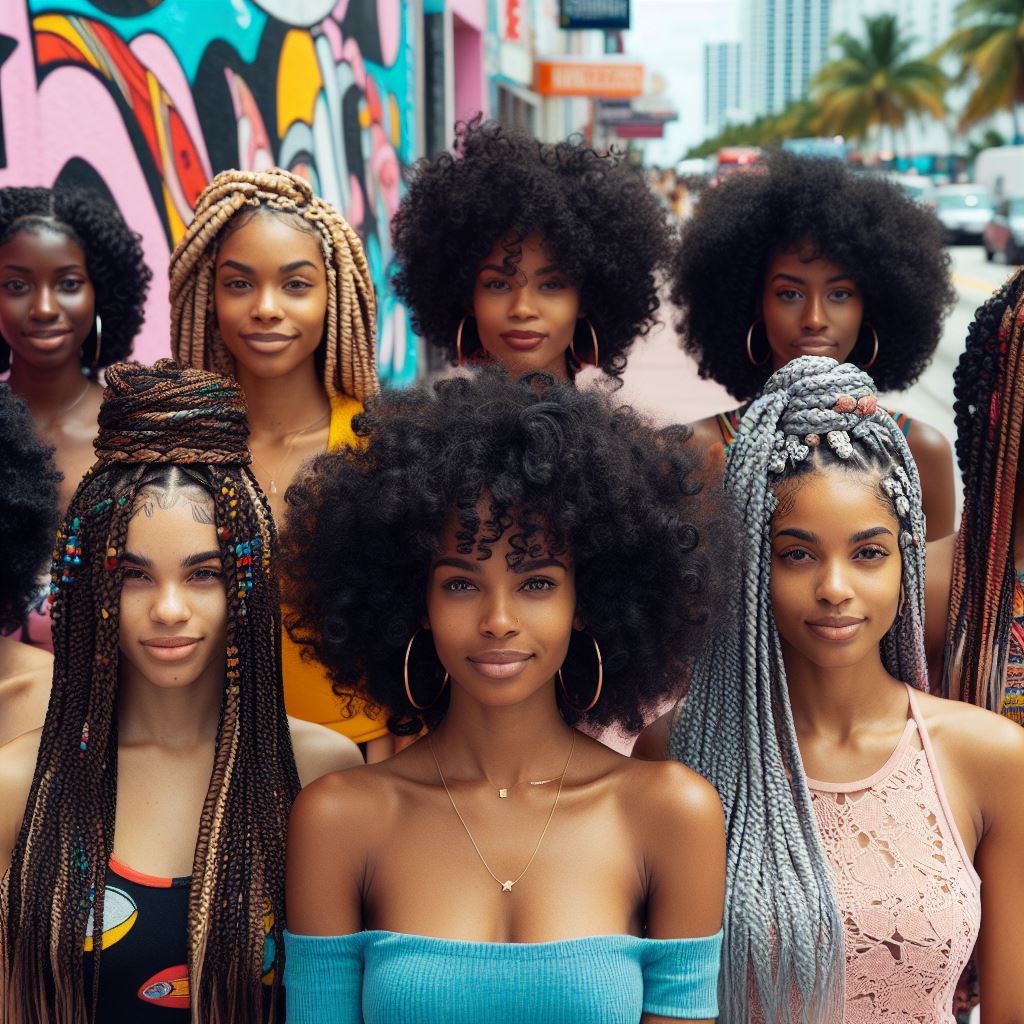
More than a hairstyle, braids represent our diverse cultures. Wear them proudly, celebrate them boldly!
Let your braided crown be a form of self-expression and creative release. Have fun with shapes, colors and patterns that channel your individuality fearlessly.
Trust me, the confidence and regality braids incite is no illusion – it origins from REAL power sourced in your roots!
Conclusion
And there you have it folks – all my best tips for unlocking your inner braiding brilliance as a beginner!
We covered everything from identifying your unique curl pattern to perfecting basic techniques plus tricks to keep braids dazzling for the long run.
Now that you understand the methodology behind weaving consistently sleek braids, don’t shy away from injecting YOUR flare too. Hair should represent who YOU are unapologetically.
So grab a handheld mirror, moisturizer and comb then start braiding spontaneously to improvise something magical using this guide as guardrails.
Let me know how your braiding experiments blossom by tagging your ‘dos on Instagram or Facebook with #BraidBaeMiami so I can hype your hair victories!
Want additional inspiration? Click these links for video demos, local Miami braiding classes and my favorite products for hyper-hydrated hair always.
Now spread your wings + braid boldly!
Autho Bio

Esmirna, founder of Dominican Braids in Miami, brings a touch of Dominican flair to her hair braiding salon. With a rich experience of over 5 years, she excels in creating braided styles that are tailored to your individual taste and personality. Esmirna is dedicated to ensuring each client leaves her salon feeling confident and beautiful. Visit Dominican Braids for an exceptional hair braiding experience that promises both satisfaction and style. Book your appointment now!